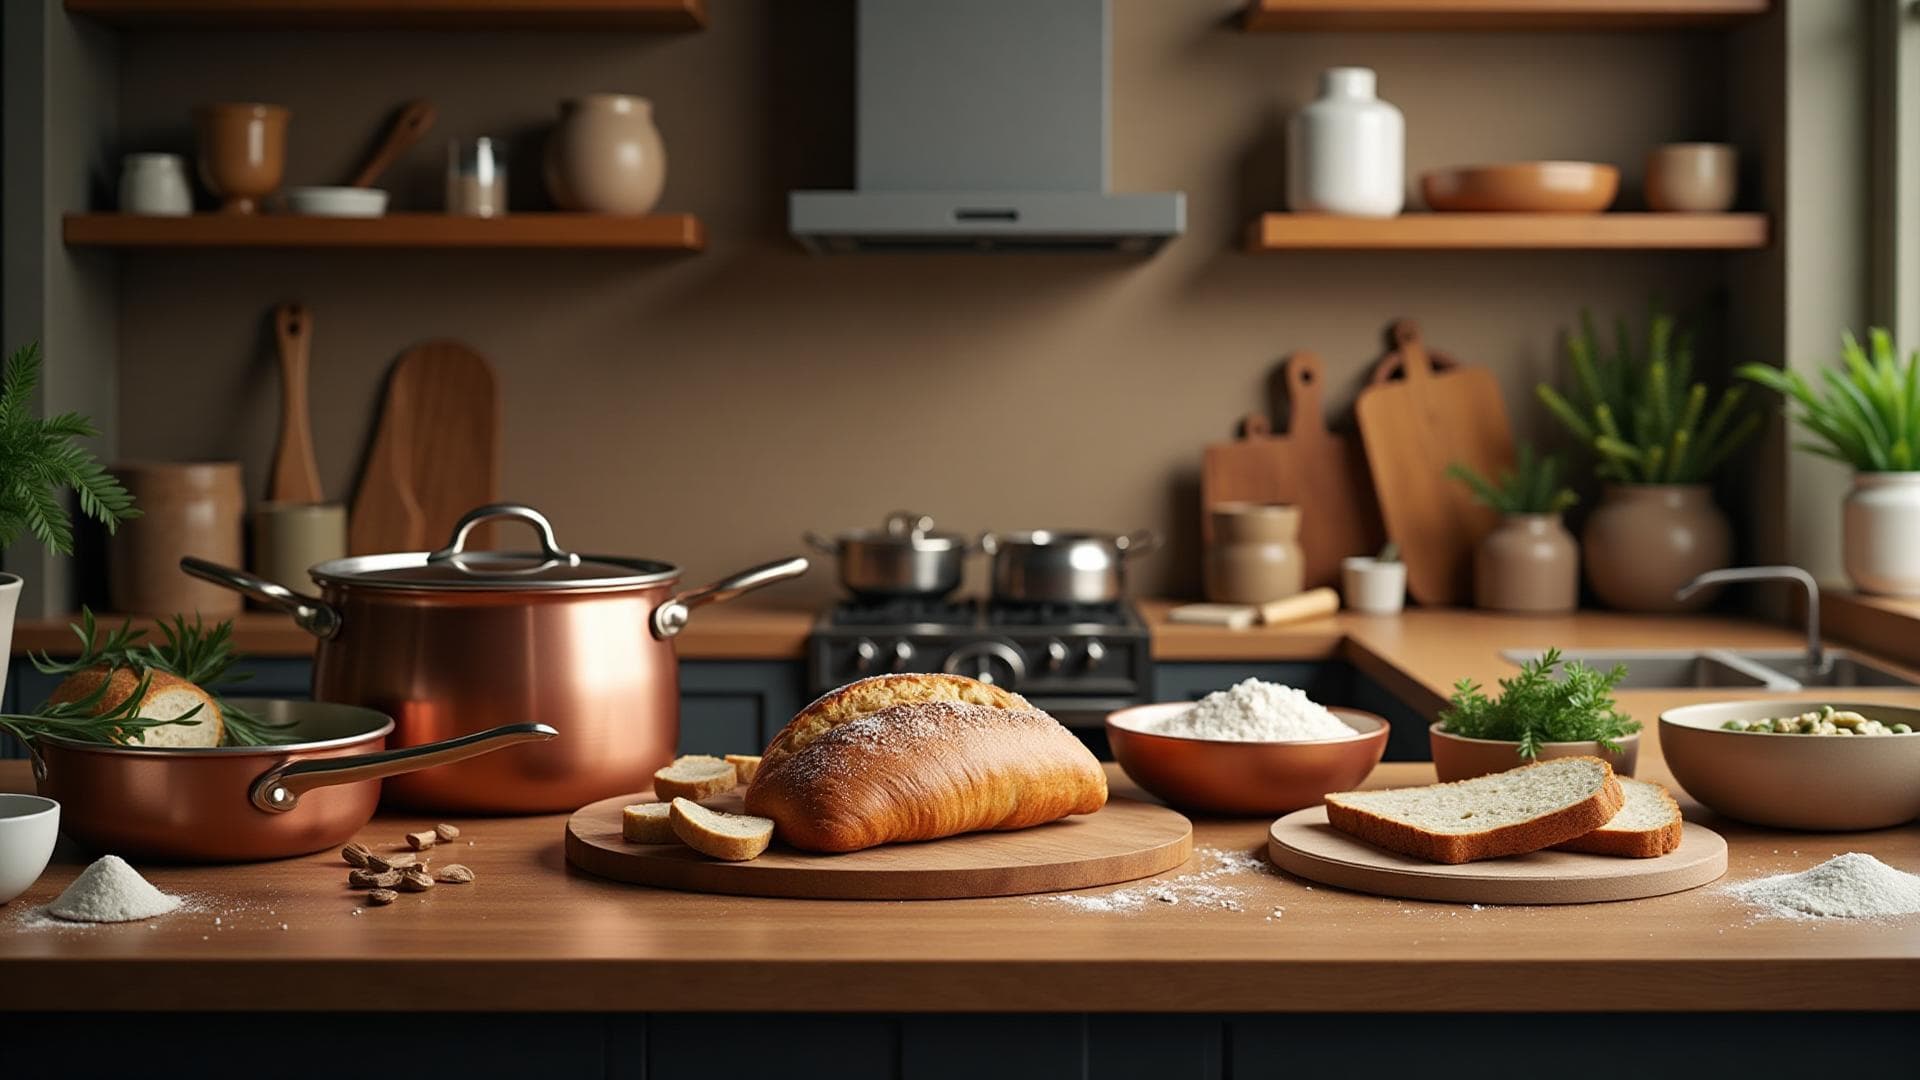
Cooking at HomeMade Easier
Make home cooking easier with our premium ingredients, expert tools, and proven recipes. Start your journey to family nutrition and food independence today.
Get A Free Bag of Imported Italian Pizza Flour
With a Purchase of an Ooni Pizza Oven
Shop Ooni Pizza OvensUP TO $100 OFF Holiday Special!
Don't miss this incredible deal on professional-grade kitchen equipment.

Bosch Universal Plus Mixer
Professional-grade stand mixer with powerful 800W motor. Perfect for serious bakers who need reliable performance for bread, pasta, and large batches.
- Powerful 800W Motor
- 6.5 Qt Mixing Bowl
- Multiple Attachments Included
- German Engineering & Quality
- 2-Year Manufacturer Warranty
Join 10,000+ happy customers who've upgraded their kitchen with Kitchen Kneads
Essential Tools & Ingredients for Home Cooks
Our most popular and highly-rated products, chosen by thousands of home cooks and professional bakers.

Bosch Universal Mixer
Professional-grade stand mixer for serious home bakers. Perfect for bread, pasta, and large batches. Easier to fill and processes more and better than kitchen aid mixers.
- 6.5 qt capacity
- Multiple attachments

Premium Artisan Chocolate
Rich and velvety chocolate made from the finest cocoa beans. Perfect for baking and confections.
- Premium Guittard cocoa
- Professional grade

00 Flour for Pasta & Pizza - Imported
Professional-grade flour for making authentic pasta and pizza dough.
- Stretchy And Fluffy Dough
- Retains Pasta Shape

Ooni Pizza Ovens
Make artisan-quality pizzas at home with Ooni’s range of outdoor and indoor pizza ovens.
- Cooks A Pizza in 60 Seconds
- 950 Degrees
See Our Entire Selection!
Explore our full range of kitchen tools and ingredients designed to help you create culinary masterpieces at home.
Featured Classes & Signature Kits
Join our hands-on cooking classes in Ogden or explore our most popular bundles and courses, all designed to transform your culinary journey with expert guidance and proven systems.
Hands-On Cooking & Baking Classes in the Heart of Ogden, Utah
Affordable. Empowering. Delicious. Join our in-person cooking classes in Ogden.
More Than Just an Online Store
While big box stores focus on convenience, we focus on empowering your cooking journey. Here's what makes Kitchen Kneads different from Amazon and other retailers.
Expert Knowledge
Our staff has decades of cooking experience and can guide you to the right products.
vs. algorithm recommendationsCommunity & Classes
Learn hands-on with our in-person classes and connect with fellow home cooks.
vs. impersonal shoppingCurated Quality
Every product is hand-selected and tested by our team for superior performance.
vs. endless mediocre optionsFamily Health Focus
We champion home cooking for better nutrition, family bonding, and food independence.
vs. convenience-focused sellingBulk & Specialty Items
Get restaurant-quality ingredients in bulk quantities with proper storage guidance.
vs. limited selection52+ Years of Trust
Family-owned business with decades of experience helping home cooks succeed.
vs. corporate marketplaceWhat You Get with Kitchen Kneads
Fighting for Home Cooking Since 1973 (52+ Years)
Our mission goes beyond selling products. We believe that great food starts in your own kitchen, and we're here to give you the confidence, ingredients, and community to make it happen. Every purchase supports local business and strengthens the movement toward food independence.
Kitchen Kneads vs. Big Box Retailers
Other Retailers
- • Algorithm-based recommendations
- • No cooking expertise
- • Limited bulk options
- • Impersonal experience
- • Focus on convenience
vs.
Kitchen Kneads
- Expert staff recommendations
- Decades of cooking knowledge
- Specialty bulk ingredients
- Personal cooking guidance
- Focus on family health
Empowering Kitchen Dreams Since 1973
At Kitchen Kneads, we believe that great food starts with great ingredients and the right tools. Our mission is to empower people to take food and nutrition into their own hands for a happier, healthier, and more meaningful life.
From artisan bakers to modern food preppers, we've been serving passionate cooks with premium supplies, scratch cooking ingredients, and expert guidance. Every product is carefully curated to meet our high standards of quality and sustainability.
Family Tradition
Three generations of culinary passion, bringing you time-tested quality and authentic ingredients.
Premium Quality
Hand-selected products from trusted artisans and suppliers who share our commitment to excellence.
Community First
Supporting local producers while building a community of passionate home cooks and bakers.
Sustainable Future
Committed to eco-friendly practices and sustainable sourcing for a healthier planet.
What Our Customers Say
Join thousands of satisfied customers who have elevated their culinary journey with Kitchen Kneads
"Kitchen Kneads has completely transformed my baking game! Their sourdough starter kit and premium flour have helped me create the most incredible artisan breads. The quality is unmatched."

Sarah Mitchell
Home Baker • Portland, OR
"As a professional chef who also believes in food preparedness, I trust Kitchen Kneads for both my restaurant and home needs. Their storage solutions and ingredient quality are exceptional."

Marcus Rodriguez
Chef & Food Prepper • Austin, TX
"The meal planning resources and bulk ingredient options have saved me so much time and money. My family loves the variety and quality of meals we're creating together."

Jennifer Lee
Family Cook • Denver, CO