

Step into a world where culinary dreams come to life, where innovation meets tradition, and where discerning shoppers find the tools to elevate their cooking to new heights. Specialty kitchen stores have emerged as the ultimate destination for those seeking high-quality products and an unrivaled culinary experience. With a carefully curated selection of specialized tools, gadgets, and ingredients, these stores cater to the needs of home cooks, professional chefs, and food enthusiasts alike. Discover the magic that awaits as we explore why specialty kitchen stores are the place to shop.
Benefits of Supporting Local Businesses

It is crucial to recognize the numerous benefits of supporting local businesses. When it comes to specialty kitchen stores like Kitchen Kneads, there are several reasons why choosing to shop locally is a wise decision.
Local businesses contribute to the growth and vitality of the community by providing employment opportunities and supporting the local economy. By choosing to shop at a specialty kitchen store instead of a big-box retailer, you are helping to sustain small business owners who are passionate about their products and dedicated to providing exceptional customer service.
Local stores often offer a unique and curated selection of products that you won’t find in larger chain stores. By supporting a local kitchen store, you are not only investing in quality products but also fostering innovation and creativity within the culinary industry.
Unique Products in a Specialty Kitchen Store
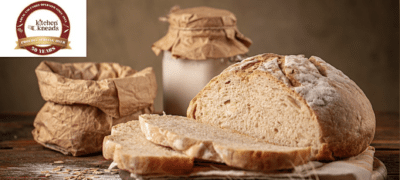
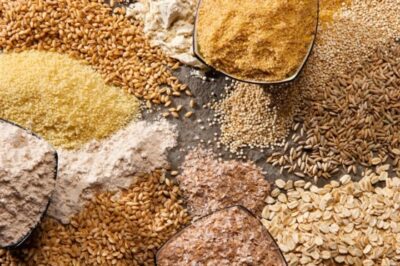
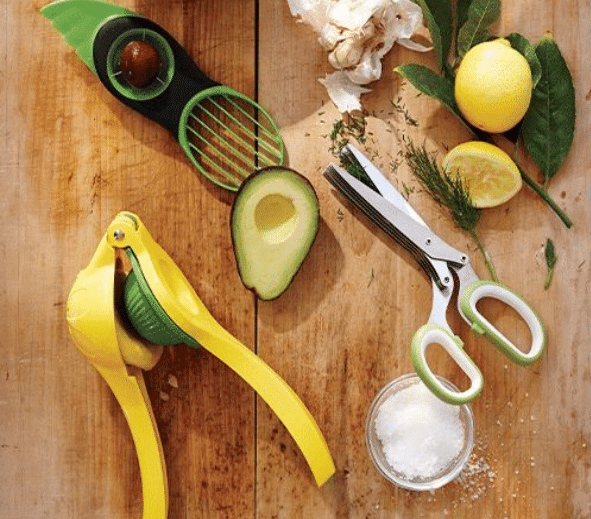
Specialty kitchen stores like Kitchen Kneads offer a wide range of unique products and specialty items, ensuring that customers have access to a diverse selection of culinary tools and ingredients. These stores pride themselves on curating a collection of items that are not commonly found in regular supermarkets or big-box retailers. Here are four examples of the unique products and specialty items that can be found in these stores:
1. Artisanal Kitchen Gadgets: Specialty kitchen stores often stock innovative gadgets that are designed to make cooking and baking easier and more enjoyable. From avocado slicers to spiralizers, these stores have it all.
2. Exotic Ingredients: If you’re looking for rare spices, unique sauces, or specialty ingredients from around the world, specialty kitchen stores are the place to go. They cater to adventurous cooks who want to experiment with new flavors and cuisines.
3. High-Quality Cookware: These stores offer a wide selection of high-quality cookware, including professional-grade pots and pans, cast-iron skillets, and specialized bakeware. Investing in quality cookware can greatly enhance your cooking experience.
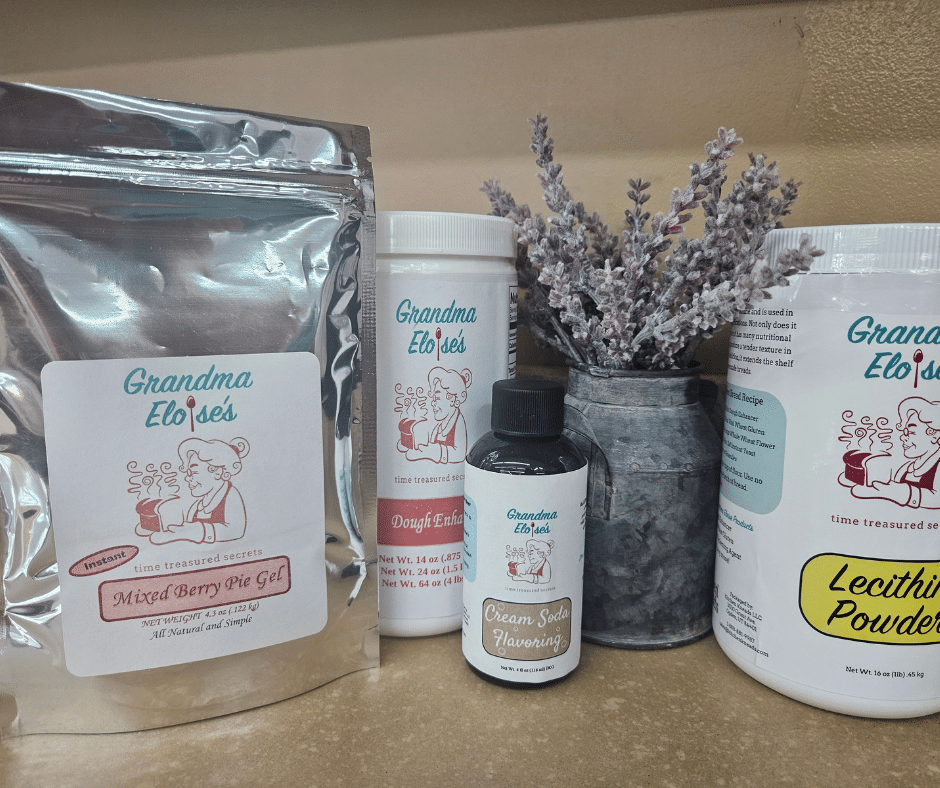
4. Local and Artisanal Food Products: Specialty kitchen stores often support local and artisanal food producers. You can find locally made jams, honey, chocolates, nuts and other gourmet treats that are not readily available elsewhere.
With their unique products and specialty items, specialty kitchen stores provide a one-of-a-kind shopping experience for culinary enthusiasts who seek innovation and want to take their cooking to the next level.
Personalized Customer Service Experience
Customers at specialty kitchen stores can expect a tailored and attentive customer service experience that exceeds their expectations. These stores understand the importance of providing personalized service to their customers, as they cater to a niche market of culinary enthusiasts who desire innovation in their kitchen. From the moment customers enter the store, they are greeted by knowledgeable staff members who are passionate about the products they sell. These experts are well-versed in the latest kitchen trends and are able to offer guidance and advice on the best tools and equipment for each customer’s unique needs.
Whether it’s helping customers find the perfect gadget, providing cooking tips and techniques, or offering demonstrations and workshops, Kitchen Kneads staff go above and beyond to ensure a personalized customer service experience that leaves customers feeling satisfied and inspired.
Contributing to the Local Economy

Local specialty kitchen stores play a vital role in supporting the economy by generating employment opportunities and contributing to the growth of the community. Here are four ways in which these stores contribute to the local economy:
1. Job Creation: Specialty kitchen stores provide employment opportunities for individuals in the local community. From store managers to sales associates, these stores create jobs and contribute to reducing unemployment rates.
2. Local Sourcing: Many specialty kitchen stores prioritize sourcing products from local manufacturers and artisans. This not only supports local businesses but also helps in promoting economic growth within the community.
3. Tax Revenue: Specialty kitchen stores generate tax revenue for the local government, which can be used to fund various community projects and infrastructure development. This helps in improving the overall quality of life for residents.
4. Attracting Visitors: Specialty kitchen stores often become popular tourist attractions, attracting visitors from near and far. This boosts the local economy through increased tourism spending on accommodation, dining, and other local businesses.